Goal: Quickly create, update, or select many users by pasting data from Excel/CSV—no file upload needed.
Gluu lets you import large amounts of users in different ways. These can then be synced via Azure AD.
Go to Users → find the Bulk option.

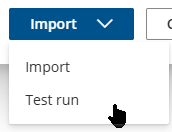
There are two clipboard-based options in the Bulk menu:
- Import — this lets you paste a table to create new users or update existing ones.
- Select — this lets you paste a list of emails to select matching users for bulk actions.
Option 1 — Import or update users from clipboard #
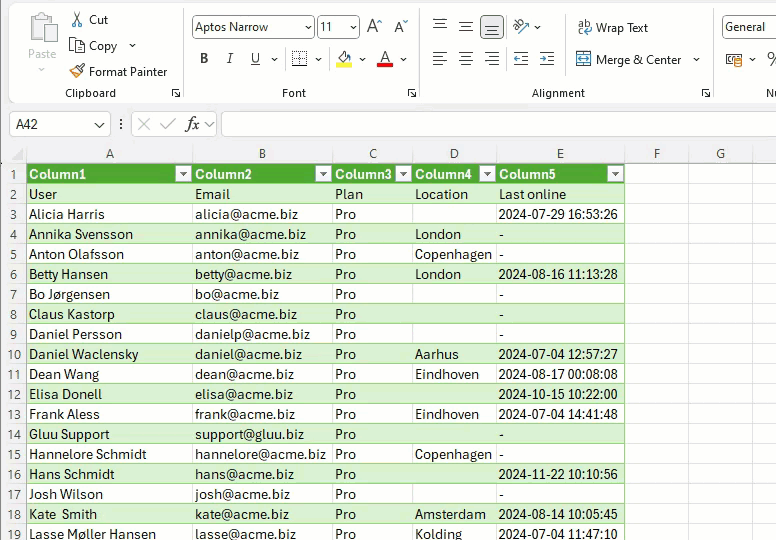
Copy rows from Excel/CSV (e.g., Name, Email, Role…). Then use Bulk > Import to map columns and run updates/creation.

Step 1 — Copy your table #
Select cells in Excel/CSV and copy (Ctrl/Cmd + C).

Step 2 — Import from clipboard #
In Users > Bulk, click Import, then Read clipboard (click again if the dialog is already open).
Step 3 — Map columns #
Confirm each column’s type (e.g., Email, Name, Role). Email is required for every row to import/update.

Step 4 — Test run (recommended) #
Use Test run to preview exactly what will be created vs. updated—no changes are made during a test run.
Step 5 — Import #
Click Import to commit the changes.
How it looks in action:

Option 2 — Select users from a list of emails #
Paste a simple list of emails from your clipboard to quickly select matching users (e.g., to bulk update roles/licensing, or delete).
1) In Users > Bulk, choose Select.
2) Paste your email list (from CSV/Excel/plain text).
3) Confirm the selection; proceed with your bulk action.

Tips #
- Clipboard access: Your browser will prompt the first time you use Read clipboard.
- Minimum required field: Email must be present and correctly mapped to import/update.
- Clean headers: Include a header row (e.g., Email, First name, Last name, Role) to speed up mapping.
- Test run first: Catch missing emails, duplicates, and unexpected changes before importing.
- Mixed datasets: You can create new and update existing users in one go—the import handles both by email.
Troubleshooting #
- Nothing appears after “Read clipboard”: Ensure you copied a table (or CSV text) and granted clipboard permissions.
- Wrong columns detected: Map each column manually in the dialog; confirm Email is mapped.
- Some rows fail: Use Test run to see exactly which rows and why (e.g., invalid email format).
- Emails not found (Select mode): Check for extra spaces/line breaks; trim and retry.


